Start children off on the way they should go, and even when they are old they will not turn from it. Proverbs 22:6
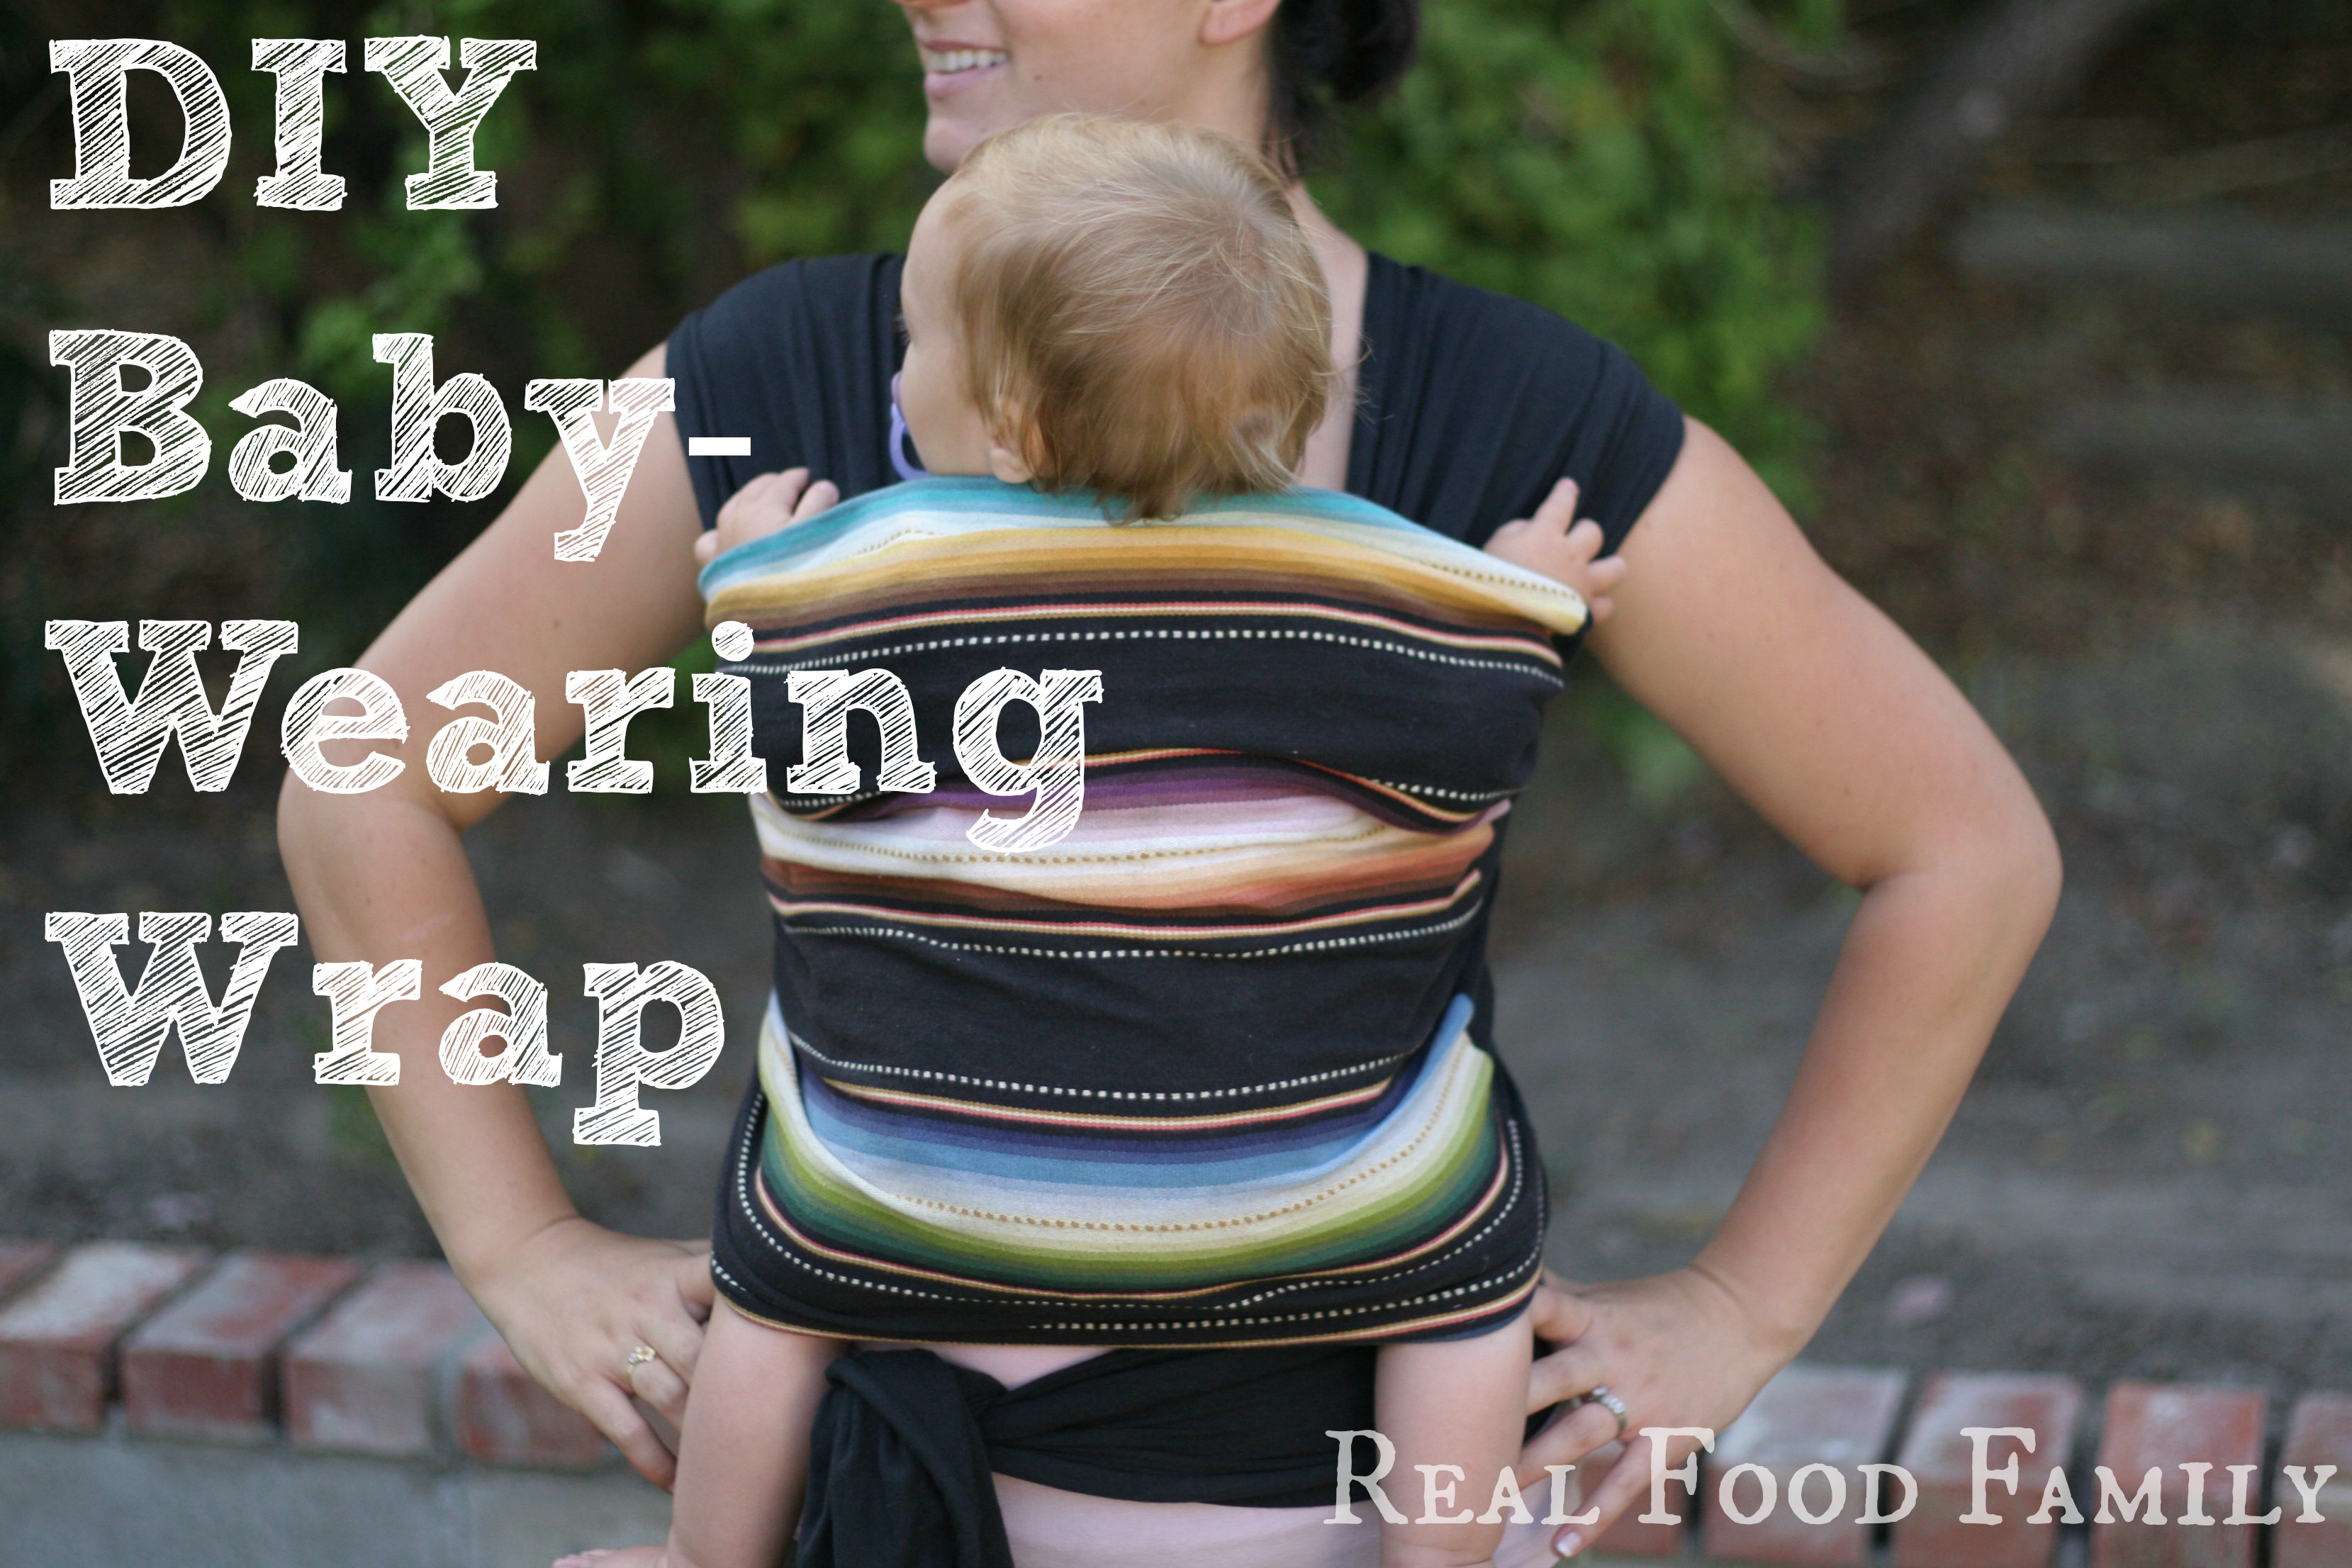
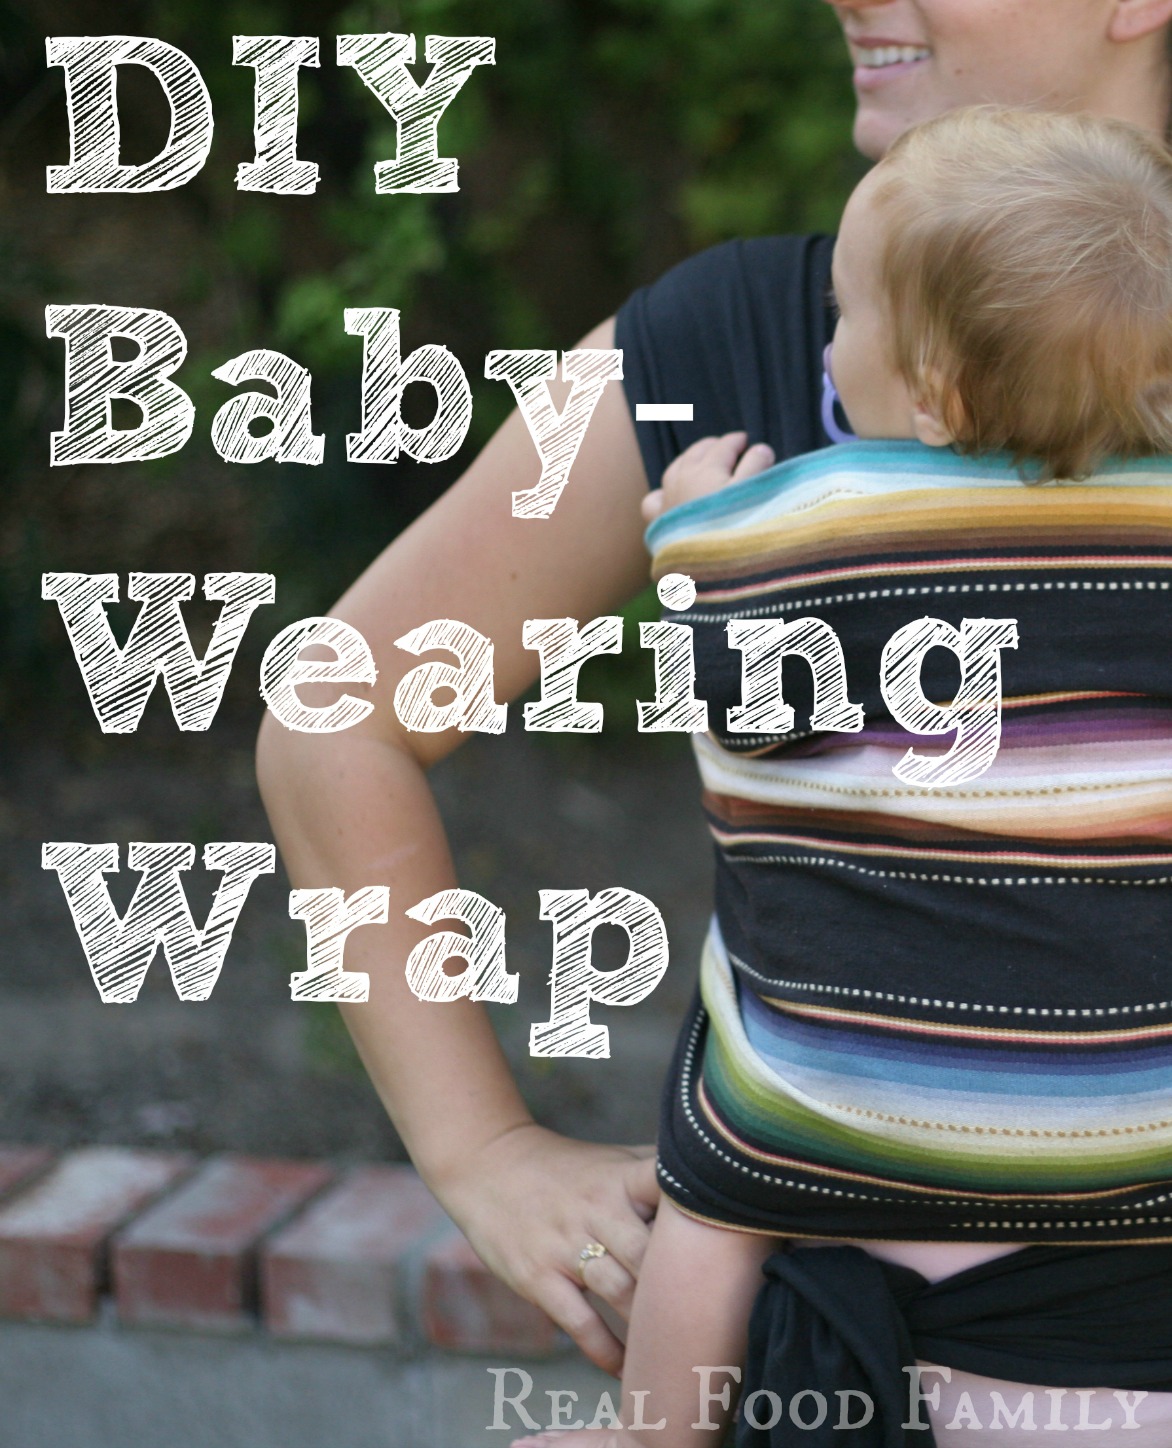
Welcome to the world of Baby Wearing! I can’t imagine life with a baby without one. I feel so sorry for the women I see carrying their babies all the time while trying to accomplish grocery shopping or cleaning the house. We all feel for the girl who is fashioning a sort of zombie style from a baby who refuses to sleep, or the ones sporting spit-up couture because of a digestively distressed baby. Enter baby-wearing.
My baby wrap would almost instantly put my babies to sleep and keep them content and happy throughout the day. I could wear my babies and get almost anything done…cooking (carefully), shopping, even a Ballet class (I wish I could find my picture of that)! My wraps were perfect for breastfeeding, offering fabric to cover up and support to keep one of my hands free- even two sometimes. When I wore my wrap with my babies, people would constantly stop me to ask me what it was and I proudly let them know that I made it myself. I have a few slings and carriers that I like to use, too, but mainly my baby-wearing apparatus of choice is my homemade design. I found it to be the most comfortable and useful wrap for all-day baby wearing.
When my first was born and I saw the price tag of the most popular wrap-style carrier then decided to do a little research and make my own. After a bit of trial and error with my first few homemade wraps, I came up with what I believe to be the best baby carrier, and that is what I’m going to teach you how to make here. It supports your back well and distributes the baby’s weight evenly over your entire torso. It uses a fabric with a little stretch so it will pull both ways, meaning no uncomfortable strain on your body as you move, which is a typical complaint of a 100%-cotton wrap. (Cotton only stretches one direction.) This kind of fabric is lighter, too, so it doesn’t get too hot when you wear it. To avoid the problem that people tend to have with all-stretchy-fabric wraps, my design uses what I call a “lock fabric” in the center-front to ensure the baby is secure and doesn’t start drooping down as time progresses.
*If you continue to read this post and make a wrap for yourself, you agree to my site terms and conditions and you understand that you create your wrap and wear your baby at your own risk. I’m simply sharing how I’ve made my own wrap and worn my own children, and am not responsible for the safety of you or your child when carrying or “wearing” your baby.
You will need:
- some sewing skill and experience
- 3 continuous yards of a 97-98% cotton/2-3% stretch (lycra) fabric that is at least 48-inches wide (I suggest that you get a 60-inch fabric in case the fabric is inconsistent and less than 48-inches on some parts, or has an ugly selvage edge.)
- 1 yard of a durable, non-stretch decorative fabric
- sharp fabric scissors
- thread to match your fabric
- sewing machine (and the ability to use it)
- surger or overlock sewing machine (and the ability to use it) and thread used for this machine
- an iron
Directions:
First you will need to cut 2 strips of the cotton/lycra fabric that are each 8 feet long and 2 feet wide. (Use leftover fabric to make cute play dresses for your kids or something fun from Pinterest.)
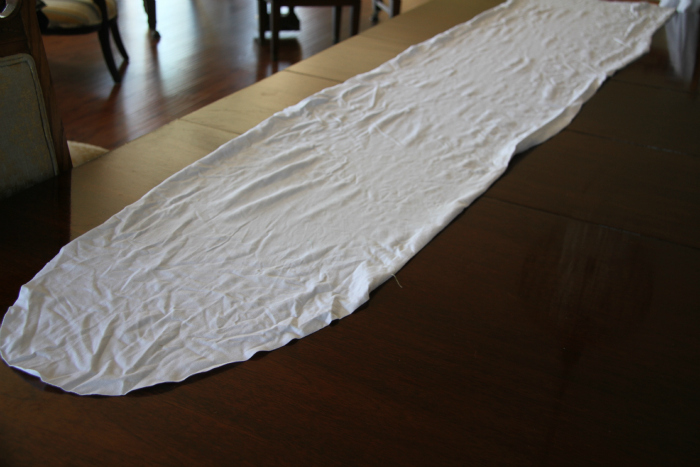
*Although my fabric is a little wrinkled in my pictures because I pre-cut it then folded it for a few days before taking the pictures, make sure to iron your fabric before cutting so your measurements are correct.
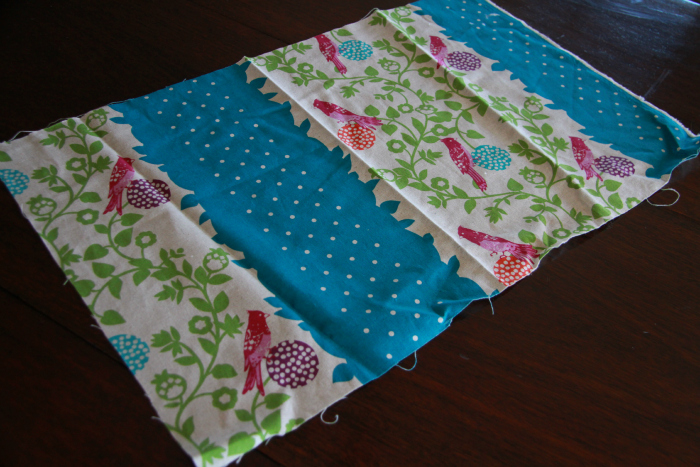
Cut a piece of your non-stretch fabric that is 30-inches long and 26-inches tall. This is the decorative piece of fabric, or the “lock fabric” as I will call it from now on, that will be on the front of your body, so decide exactly what part of the fabric you want to use, centering the design as you like.
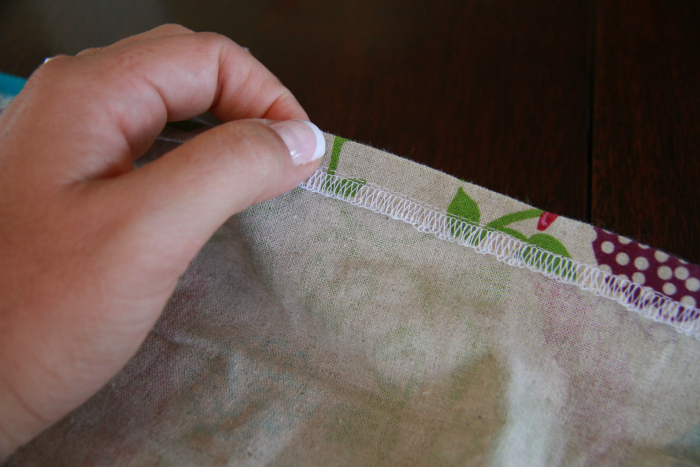
Serge/overlock the top and bottom 1/4-inch of the “lock fabric” to finish the edges. Use a hot iron to fold down 3/4-inch of fabric on the top and bottom of the “lock fabric” (the sides you just finished). Use your sewing machine to sew a final straight top-stitch along the fold with a 1/2-inch seam allowance. (This should make the unfinished sides of the “lock fabric” panel exactly 24-inches long.)
Now you will sew the 3 pieces of fabric together using the serger/overlock machine. Use pins to keep the fabric lined up and stitch slowly because it can be very difficult to successfully sew a non-stretch fabric to a stretch fabric. Also note that we are not finishing the top and bottom edges of the stretch fabric. This kind of fabric will not fray and can be kept unfinished. Line up the unfinished edges of the “lock fabric” with the cotton stretch fabric– right sides together. Use the serger/overlock machine to sew these pieces together using a 1/4-inch seam allowance.
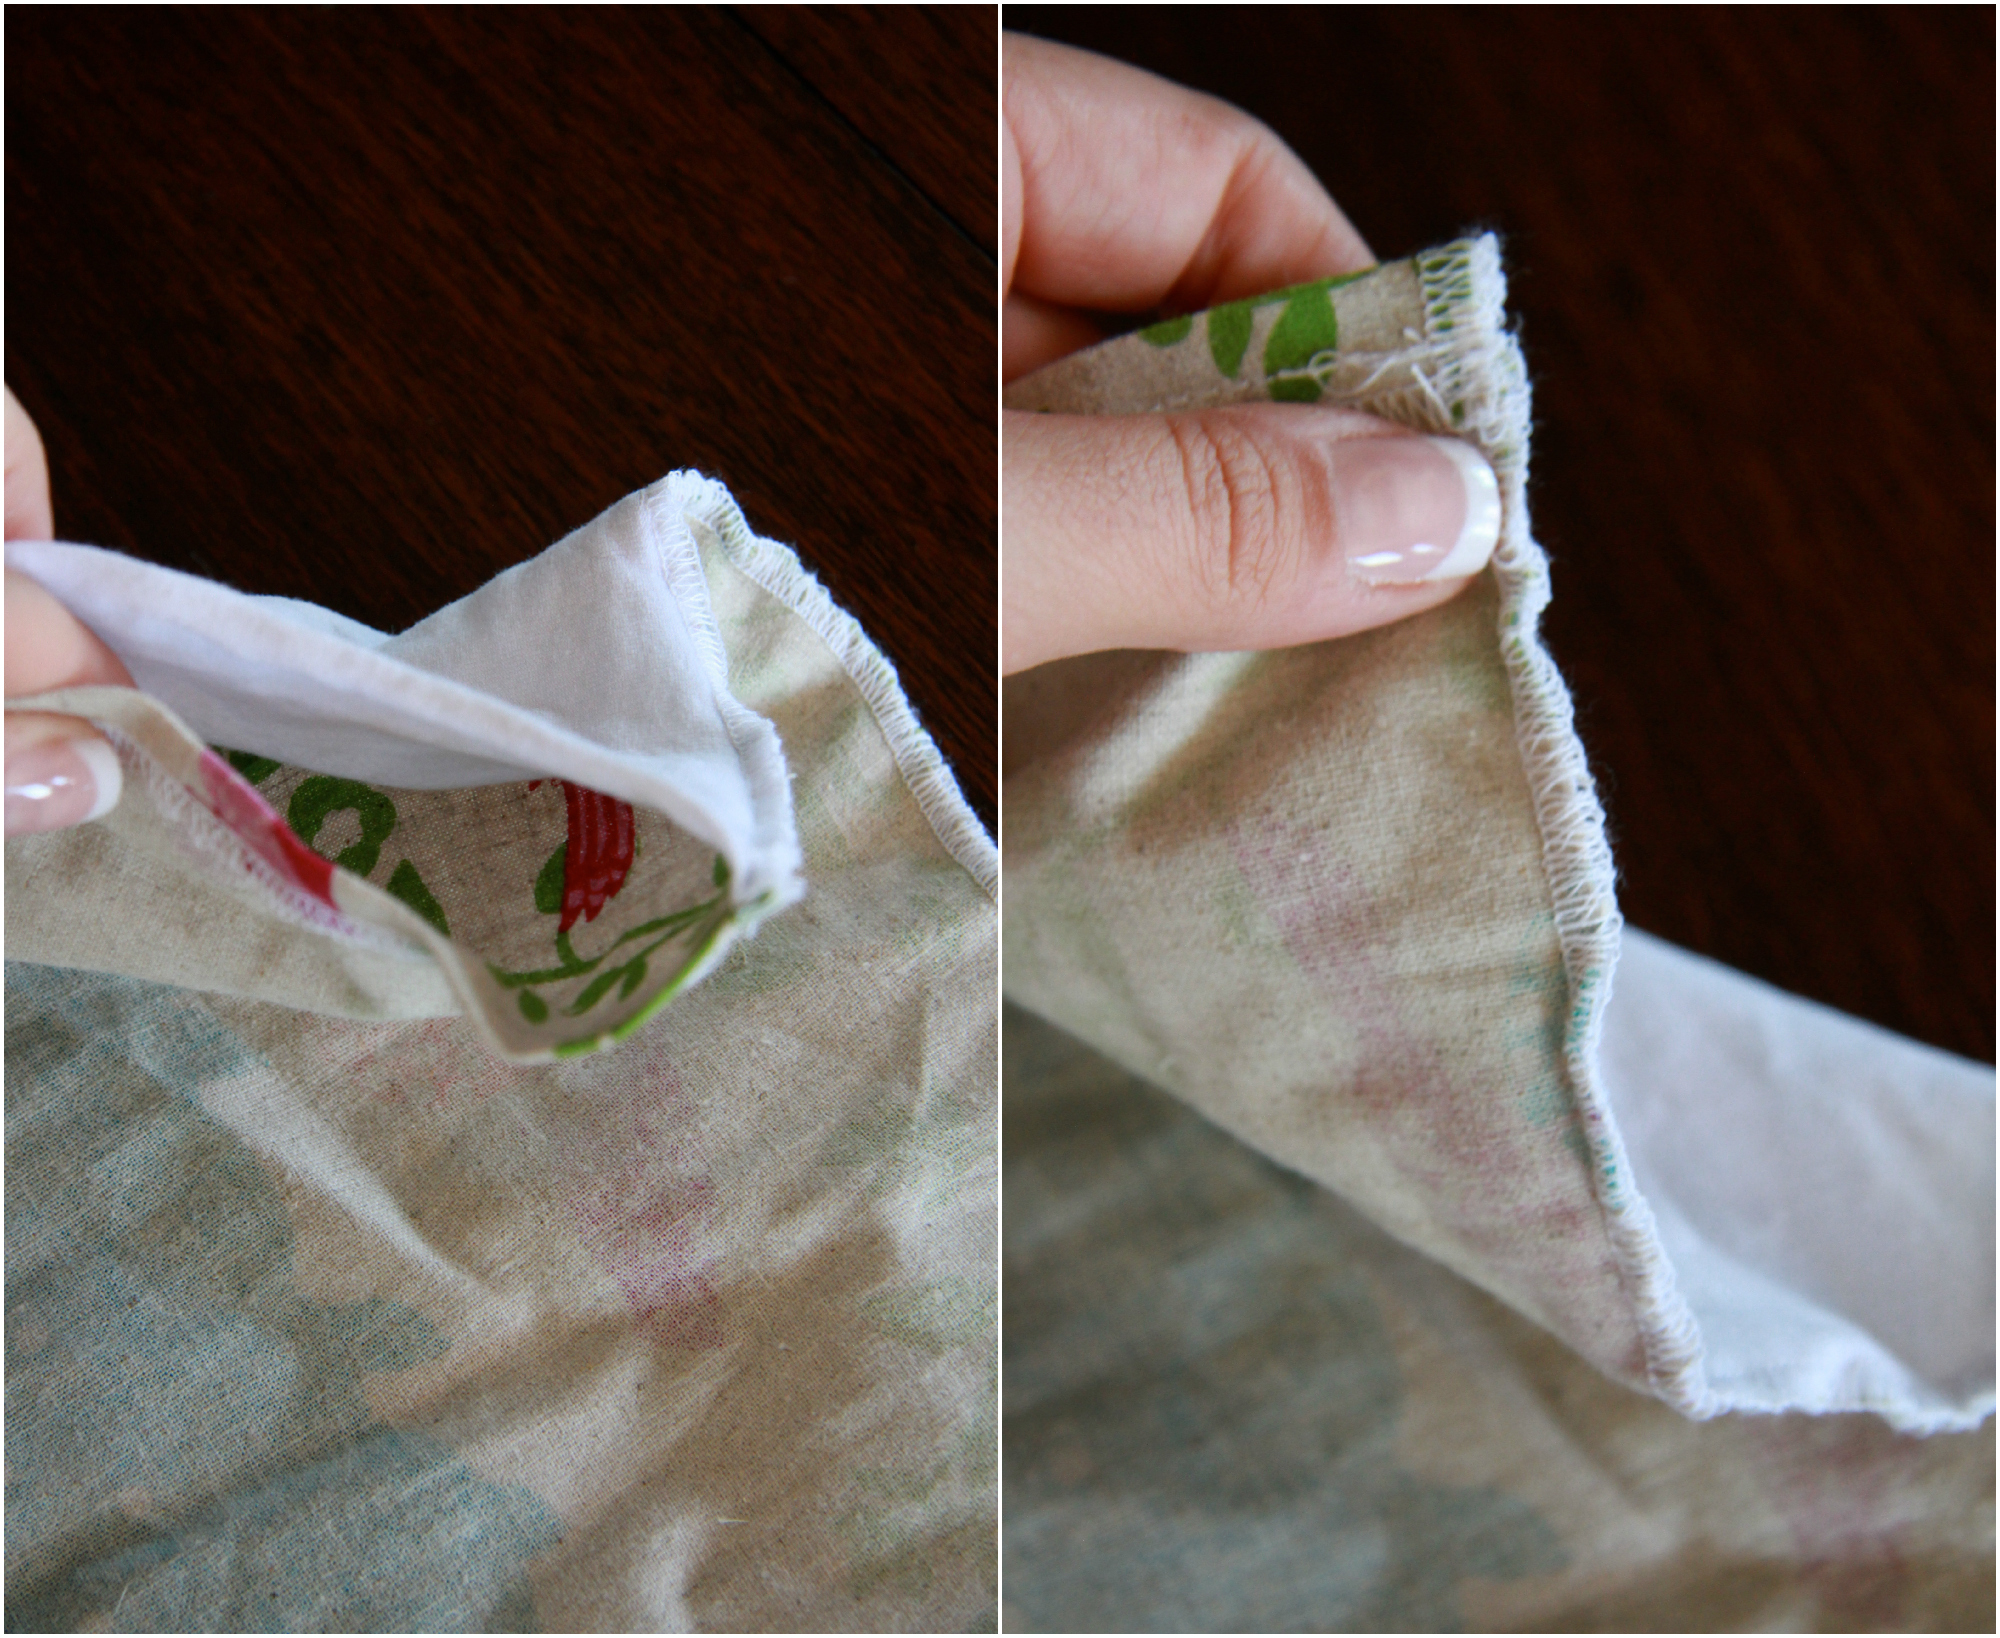
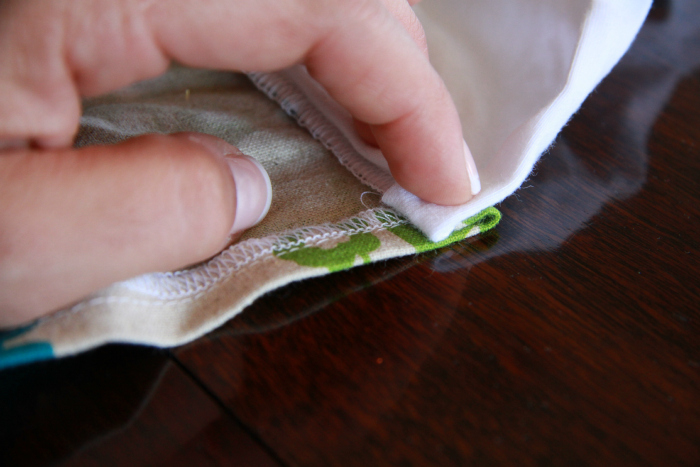
To top-stitch and secure the side panels to the “lock fabric”, use an iron to fold down 1/2-inch on each side of the “lock fabric” toward the back side (or wrong side) of the “lock fabric”, with the stretchy side panel fabric folded away from the center panel. You will have 3 layers of fabric folded on this 1/2-inch: the “lock fabric” folded on itself, plus one layer of the cotton stretch fabric (refer to the picture). Sew two top stitches along both sides of this folded seam to secure it down.
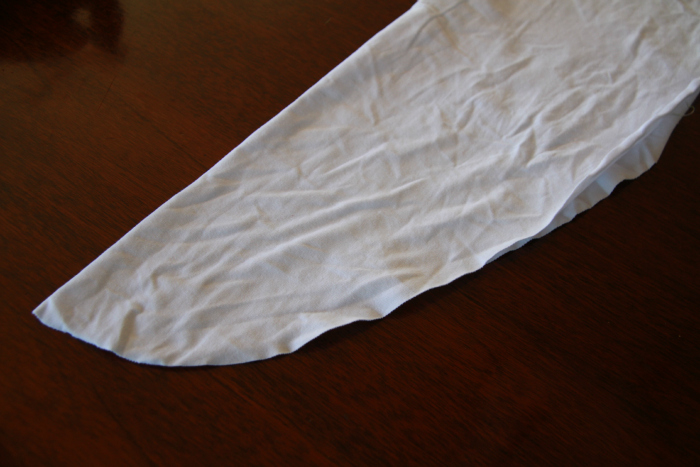
To taper the ends of your side panels, fold the last 12-inches of the fabric in half lengthwise and cut a long half-oval starting at the open edge, rounding the last 2-inches on the folded edge. When you open the fabric you should have an evenly rounded, tapered end of the panel.
Clean up any loose threads and your wrap is done!
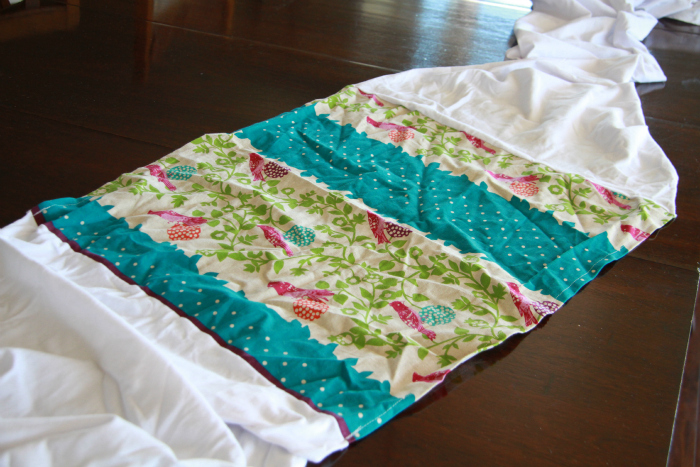
Here are some pictures of wraps I’ve made, with directions for putting it on below.
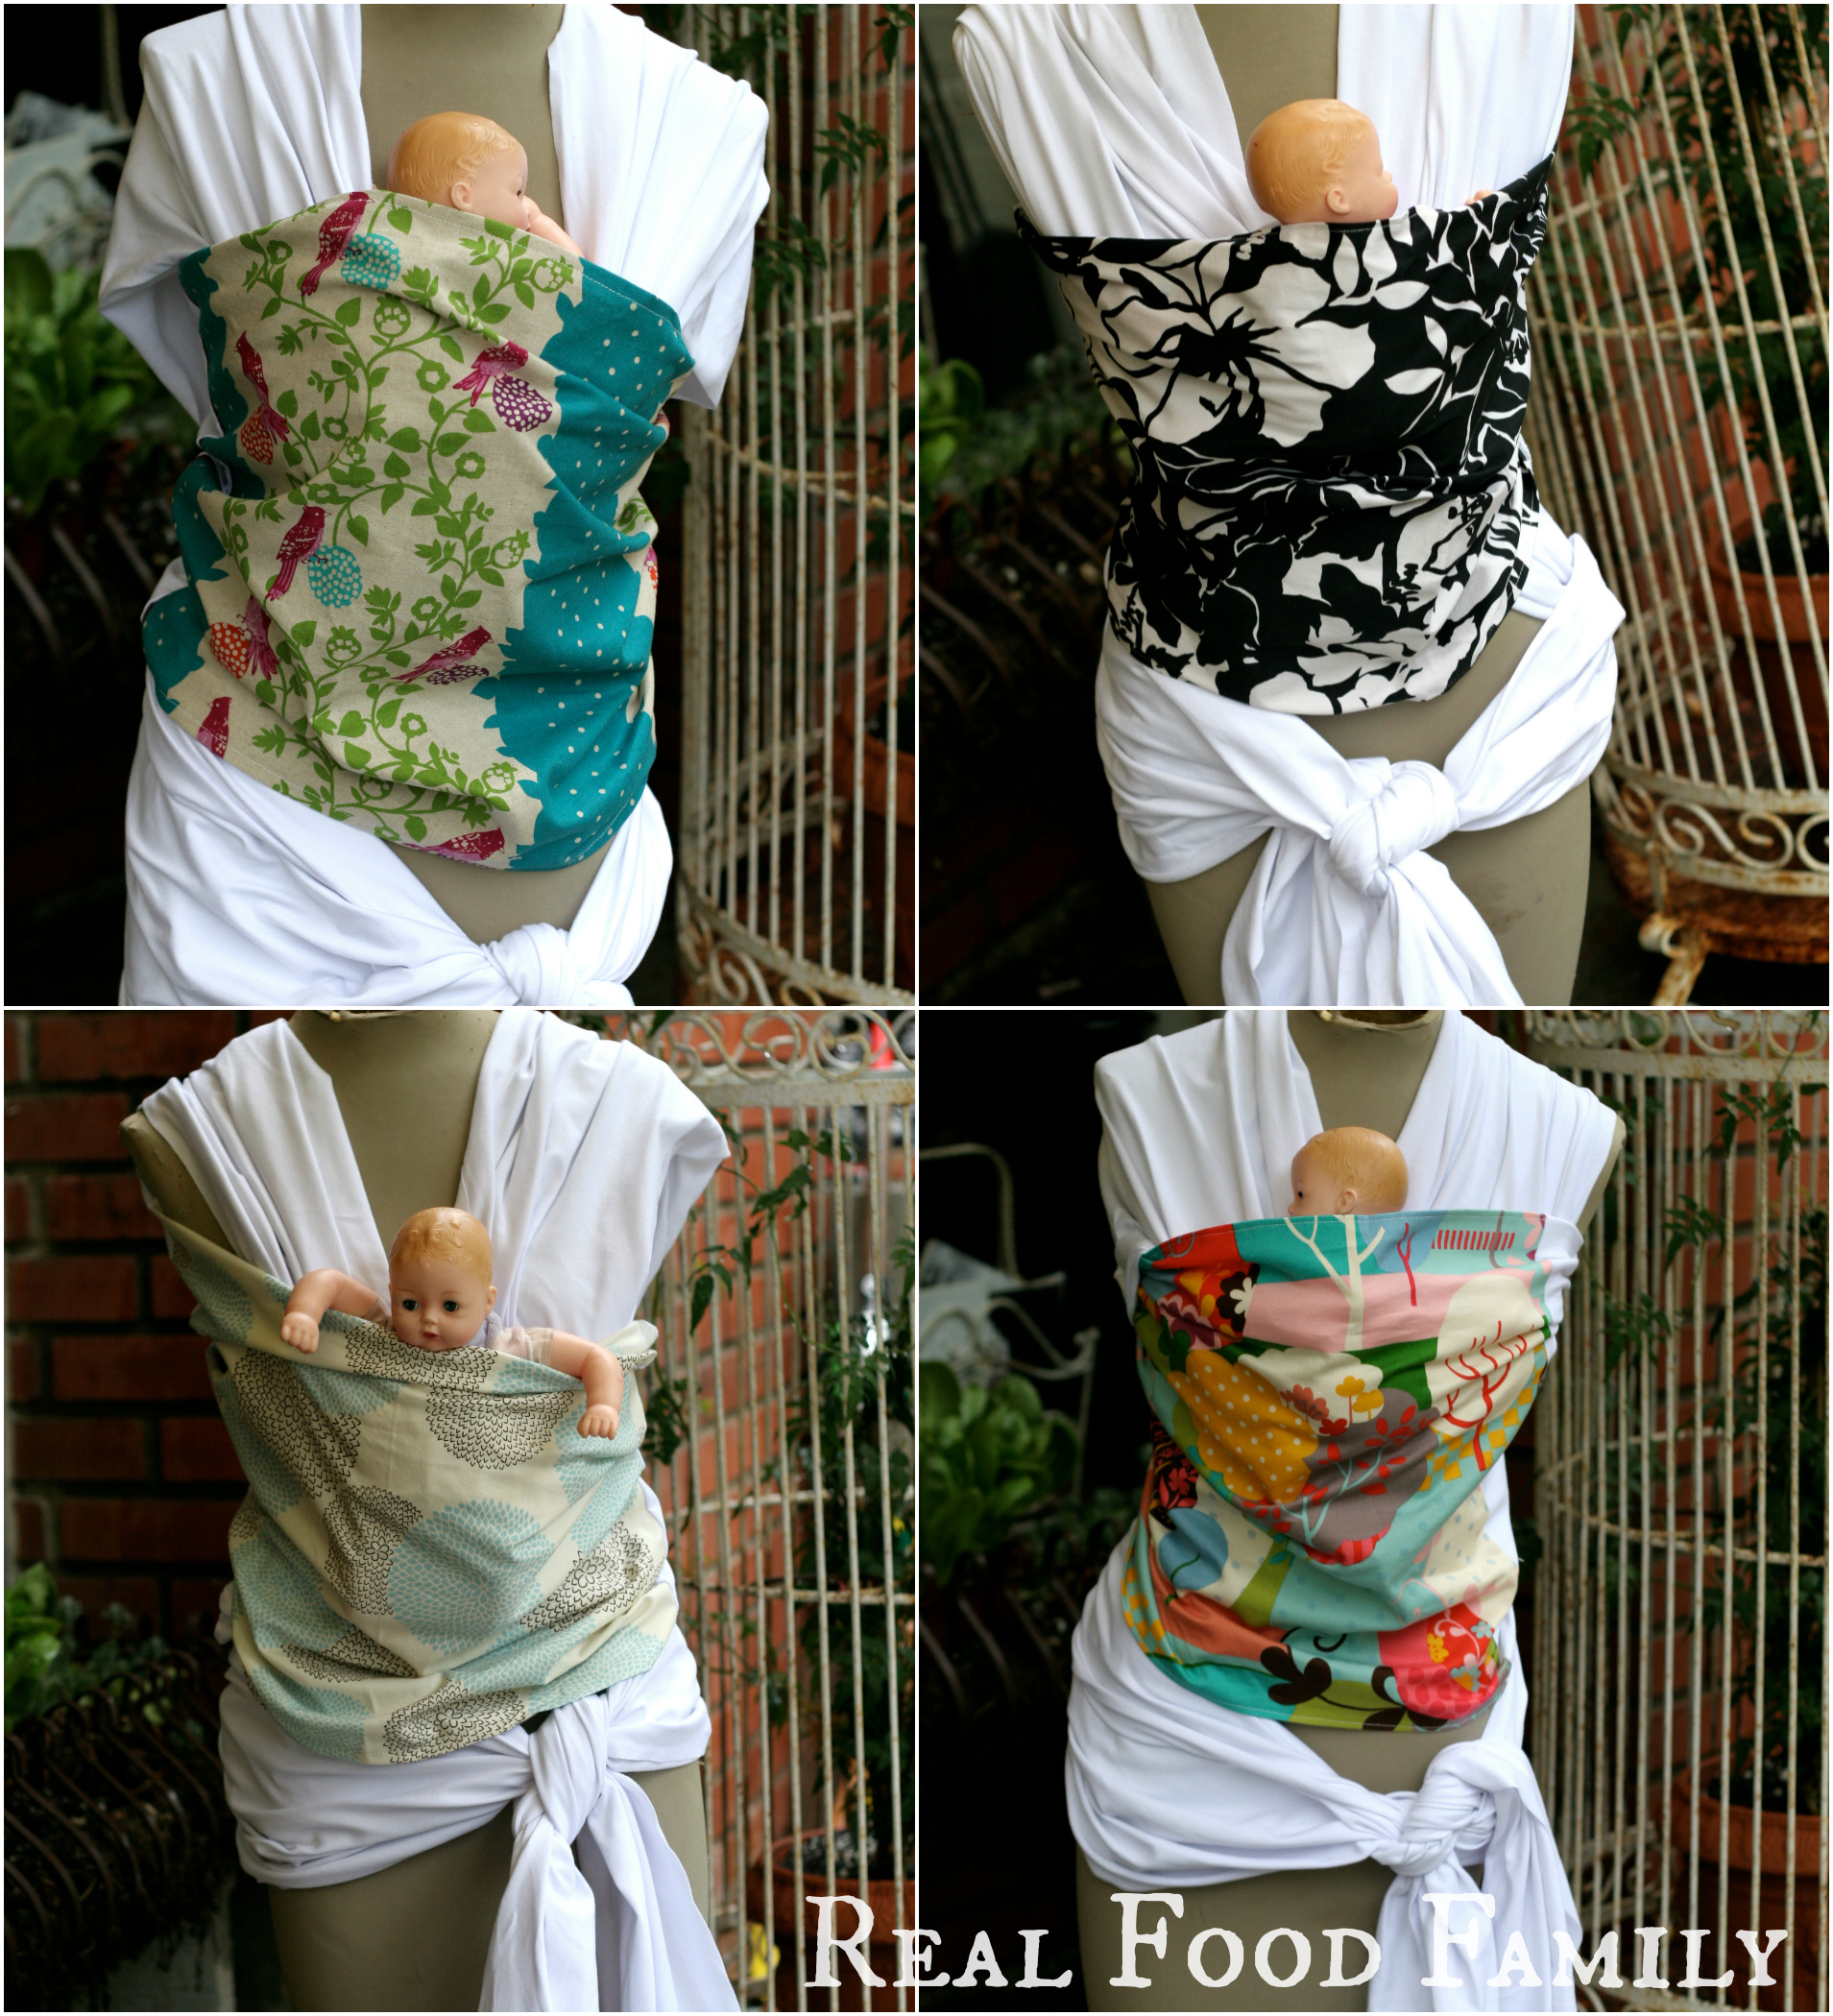
Instructions for tying your homemade baby wrap:
- Place the center of the middle panel of your wrap in front of your stomach, and wrap sides around your back.
- Criss-cross the side panels of your wrap behind your back, then lift the panels over your shoulders.
- Criss-cross panels again in front of your chest, then pull through the underside of the middle panel of your wrap, keeping the side panels crossed.
- Wrap crossed panels around your waist and tie in a secure double-knot behind your back. If you have extra material, you may wish to wrap around again to the front of your waist and tie.
Placing your baby in the wrap: *This is the basic “tummy-to-tummy” way of wearing your baby. You may find other ways to wear your baby on baby-wearing websites or on these YouTube Channel videos.
- Hold baby, facing you, and place on leg through the crossed panel in front of your chest that is closest to you.
- Place baby’s other leg through the other crossed panel. Make sure both panels are spread across baby’s bottom.
- Pull middle panel of your wrap over baby’s back, pulling baby’s legs through.
- If baby falls asleep, turn head to the side and secure back of baby’s head with panel material.
*Drop baby to the side for discreet breastfeeding.
I hope you enjoy wearing your baby in your homemade wrap! Let me know if you have any questions.
****
Ergobaby Giveaway!!!
For those of you who aren’t going to make your own wrap, or are a baby carrier junkie like me and would love to have as mangy carriers as possible, I’m giving away the popular and ergonomically designed to be safe for baby- Ergobaby carrier!
Simply use the rafflecopter form below to enter for the giveaway. Rafflecopter will randomly pick a winner when the giveaway closes and the winner will be contacted by me ([email protected]) to collect the information needed to send the winner their new Ergobaby carrier. Before the winner is contacted, their entries will be verified. False entries will disqualify the winner and a new winner will be chosen. This is not a sponsored giveaway and is paid for by me. Valid for U.S.A. & Canada residents only. All participants must be 18 years of age or older.
If you don’t win, don’t forget you can always purchase your own Ergobaby carrier! Good luck!
Ergobaby carrier photo credit: http://ergobaby.com