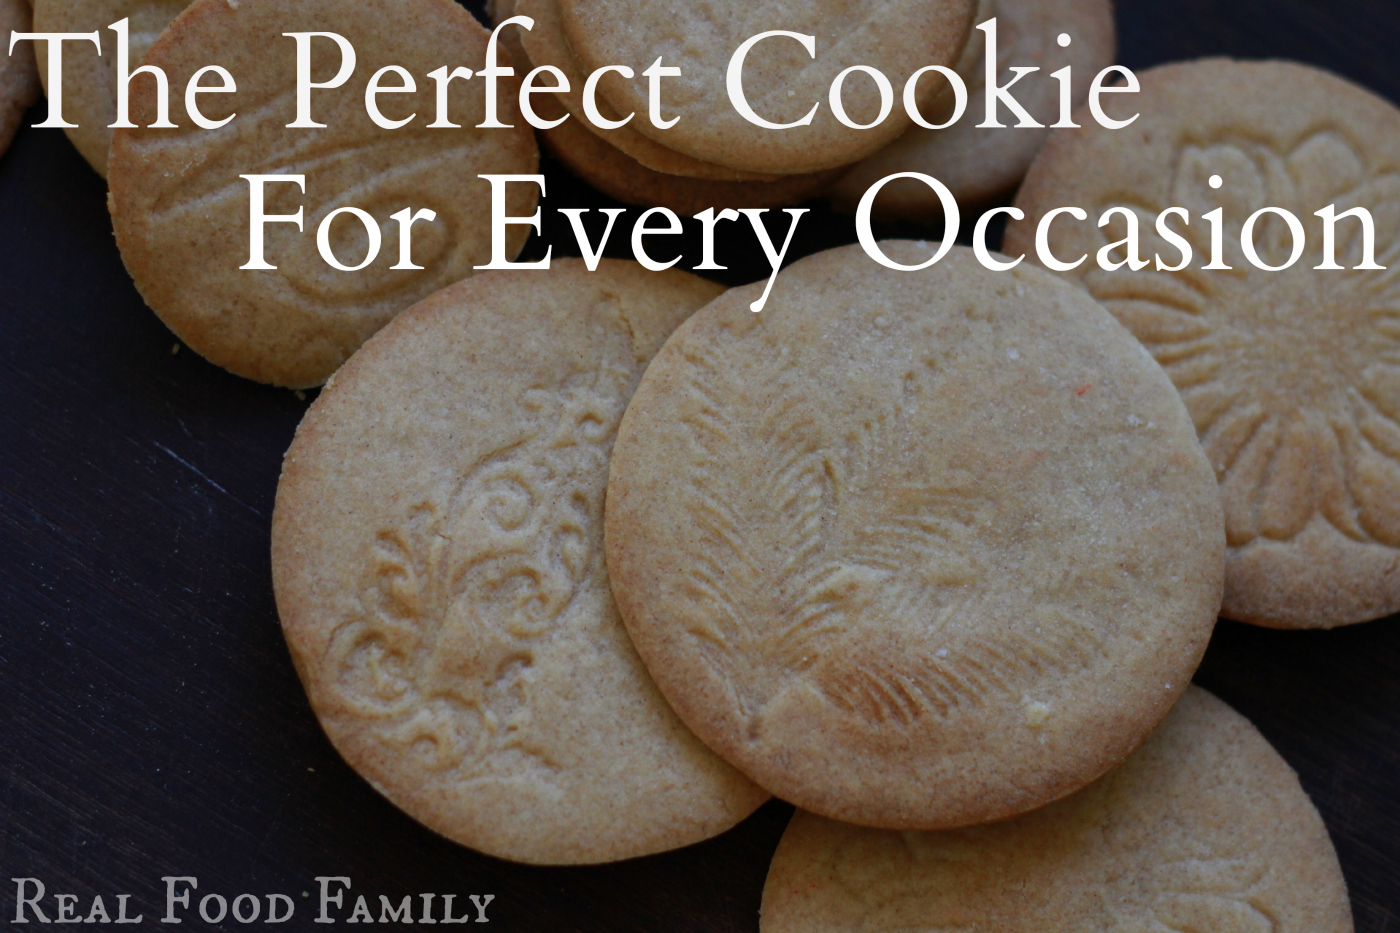
I’ve always wanted to have a special drawer in my house full of beautiful hostess gifts to have ready when a thank you card just doesn’t seem like enough. It would be filled with all the adorable little things you find in a boutique, candle store or soap shop that you never have an excuse to buy, but are so lovely they just make you happy.
I swear this story has to do with cookies…I’ll get there, I promise.
I thought of an idea (okay, I stole it from a Pinterest pin I saw) to buy stamps from the craft store and stamp delicate images on a simple sugar cookie or shortbread cookie. I just happened to have an incredibly delicious little honey cookie recipe (not from Pinterest) that I thought would work perfectly with the stamps. These cookies are delicate and sweet and they have a perfect texture: somewhere between shortbread and a sugar cookie.
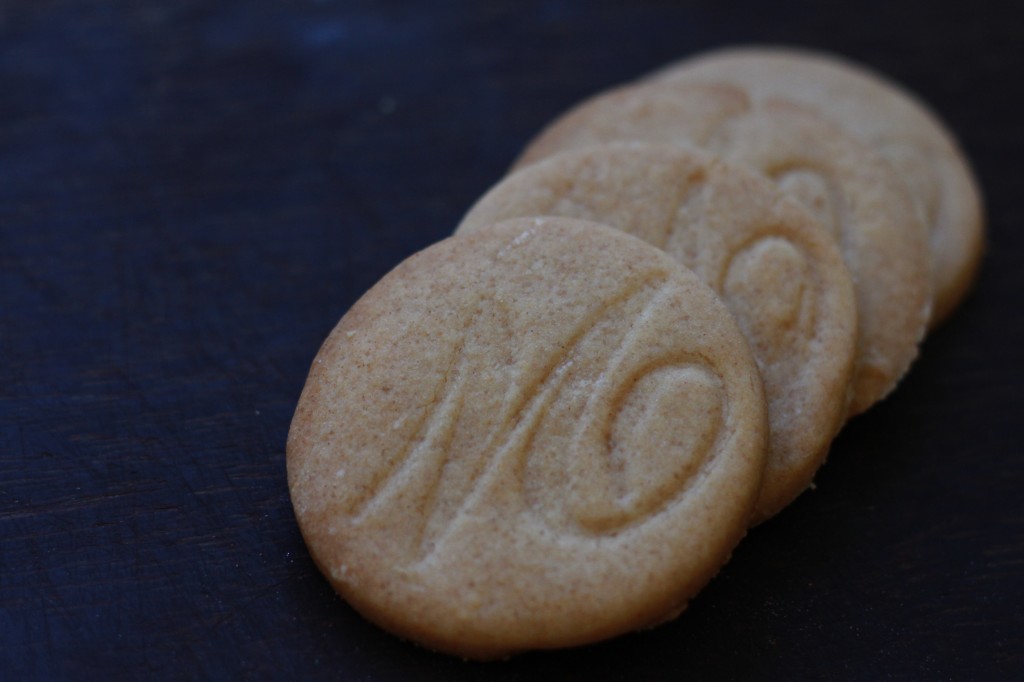
So I took my two kids to the craft store (which is pretty much the dumbest idea a mom could ever have) and managed to find a few cute stamps that would represent different holidays and occasions throughout the year. I even found an “M” stamp in the clearance bin, which happens to be the first letter of my last name. Aha! That would be the perfect little hostess gift! Maybe not to keep in a drawer, but something unique and totally adorable to make as a special thank you from our family when the occasion comes!
My recipe worked perfectly with the stamp idea, and the kids LOVED getting in the kitchen with me on this project. One important tip is that the stamps must have deep, defined lines to work for the cookies, so not all stamps will work well. You also need to use traditional wooden stamps because the rubber sheet ones just don’t work. I also bought some edible color dust in various colors which the girls loved painting onto their cookies. The artificially colored color dust is totally against my regular nutritional stance, by the way, but we only lightly dusted the cookies and we aren’t nutritionally perfect 100% of the time. Sometimes we like to live dangerously. (I wish you could hear the sarcasm when I say that.) The color dust is really simple, too, which is a nice alternative to a load of sugar-laden colored sprinkles or frosting on a cookie. This way you are still just tasting the goodness of the cookie.
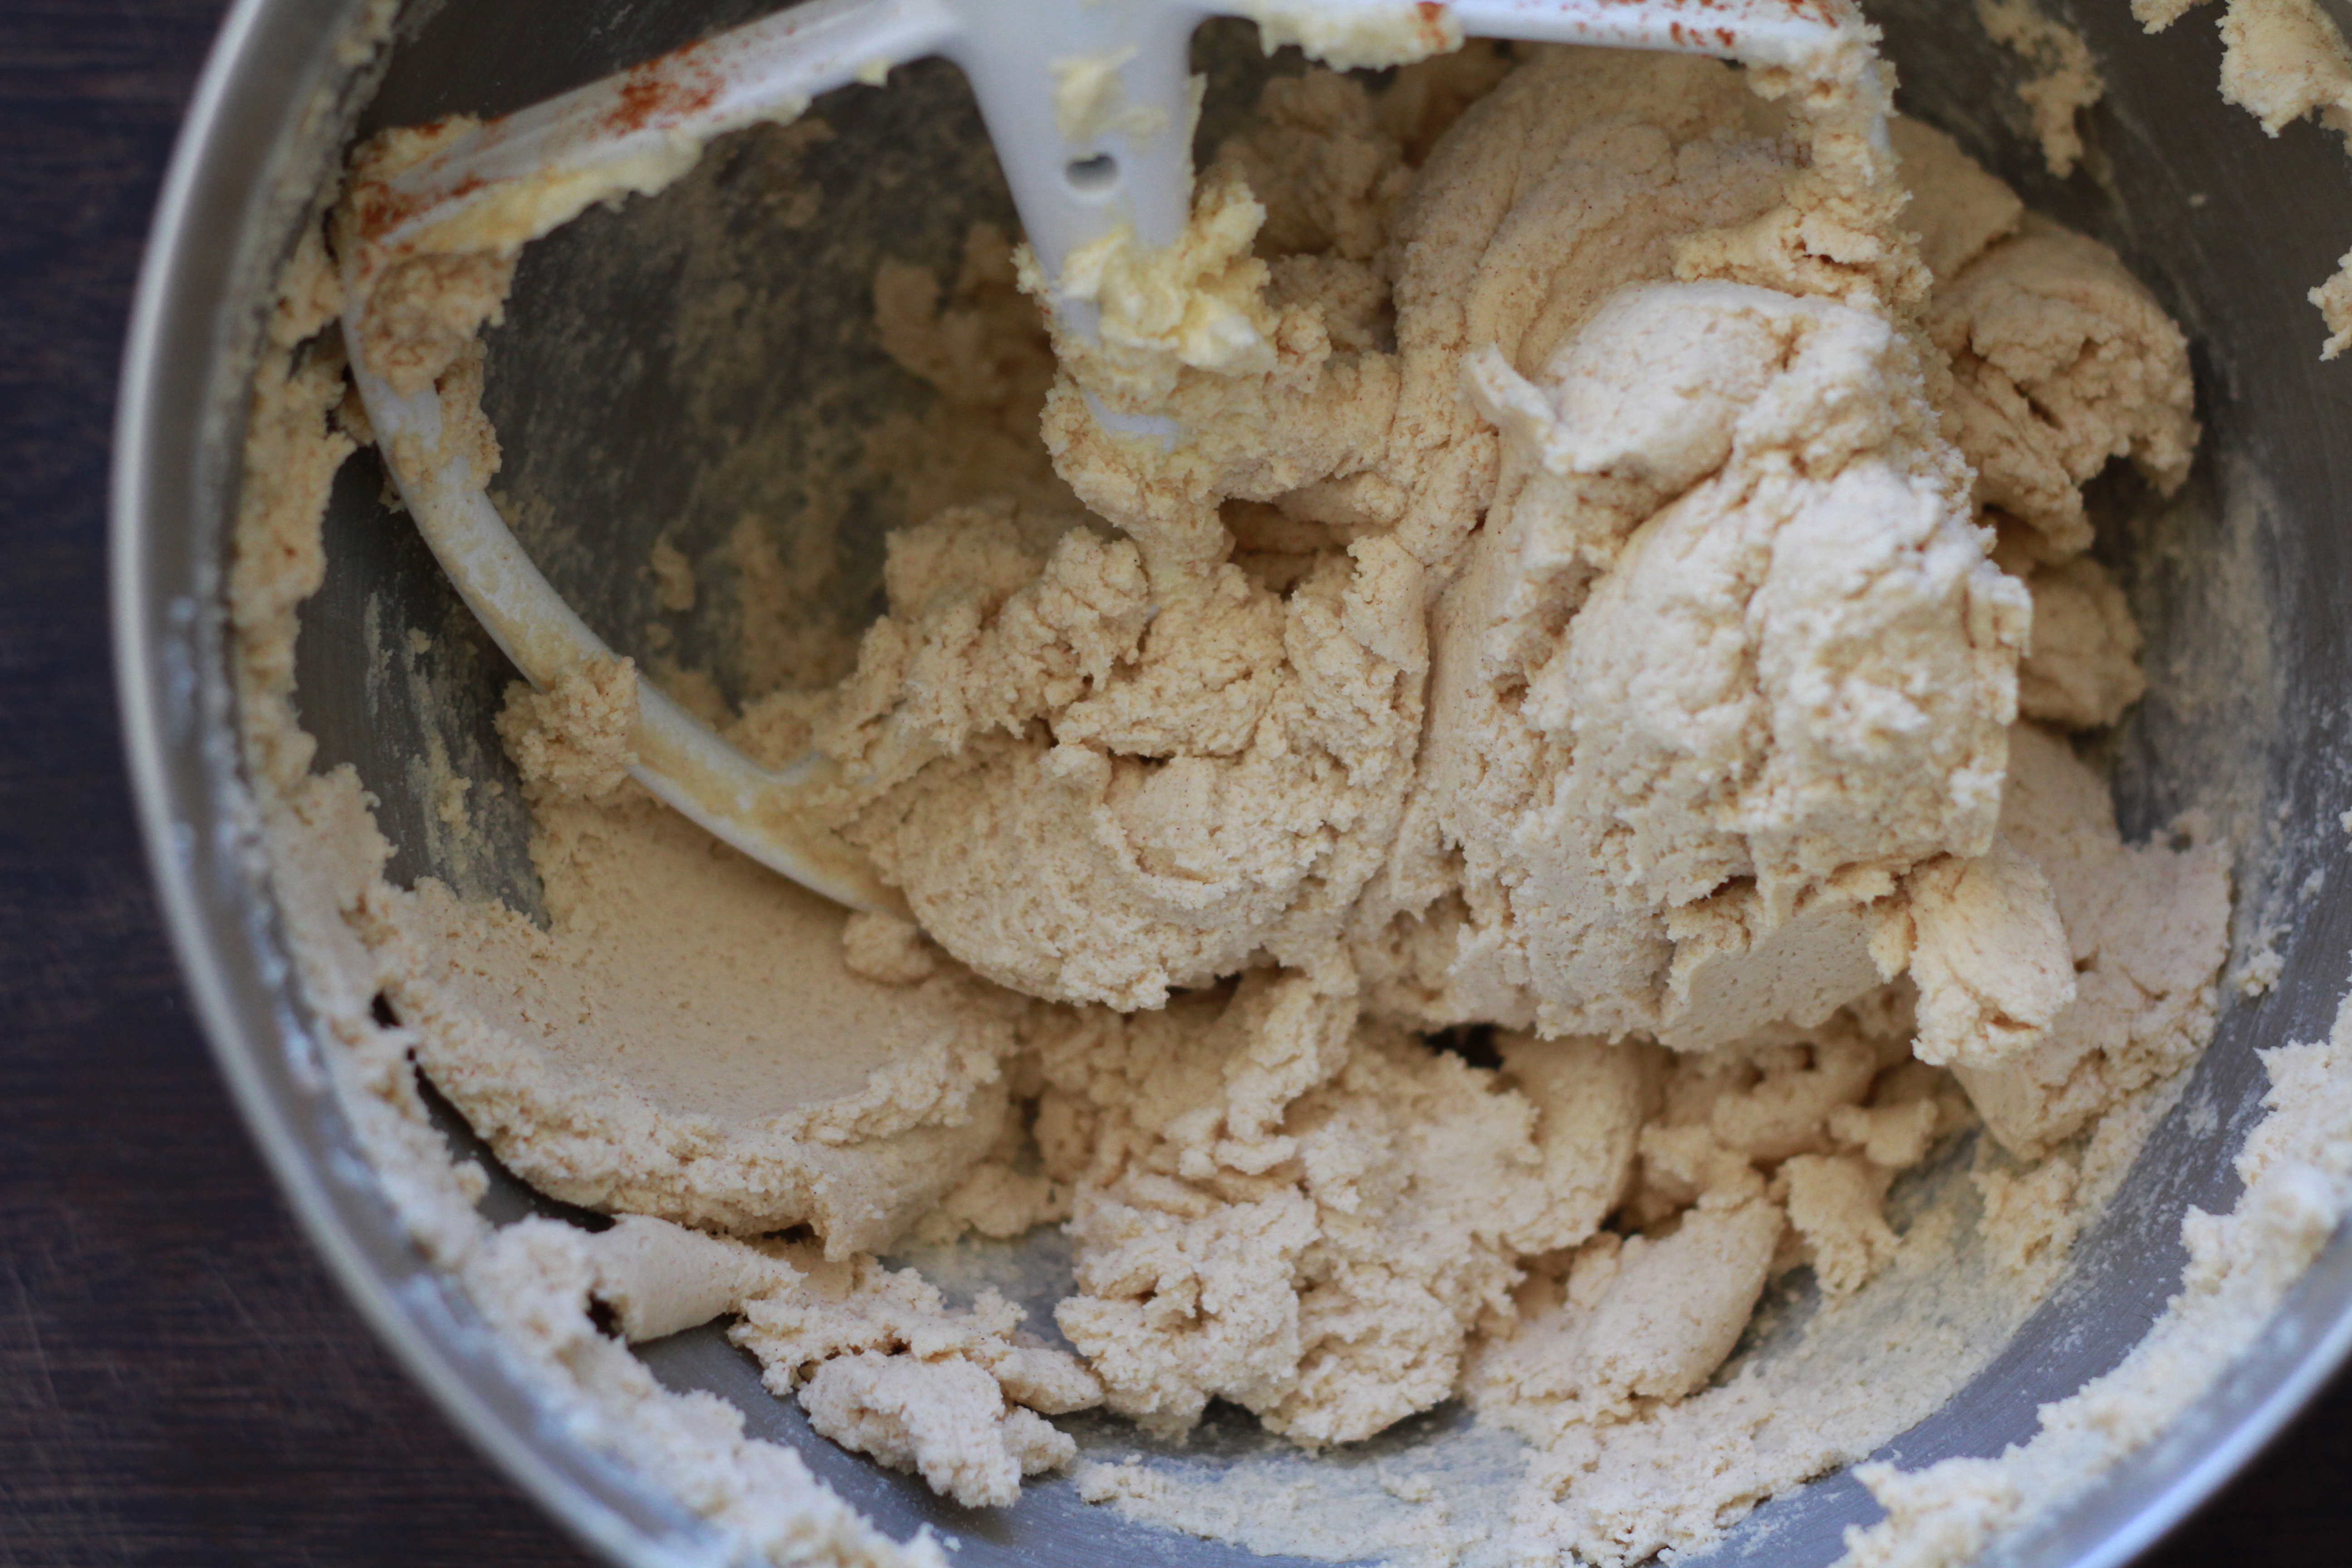
You’ll start by whipping up everything but the flour, then rolling the dough on a very well floured surface. This part is perfect for the kids!
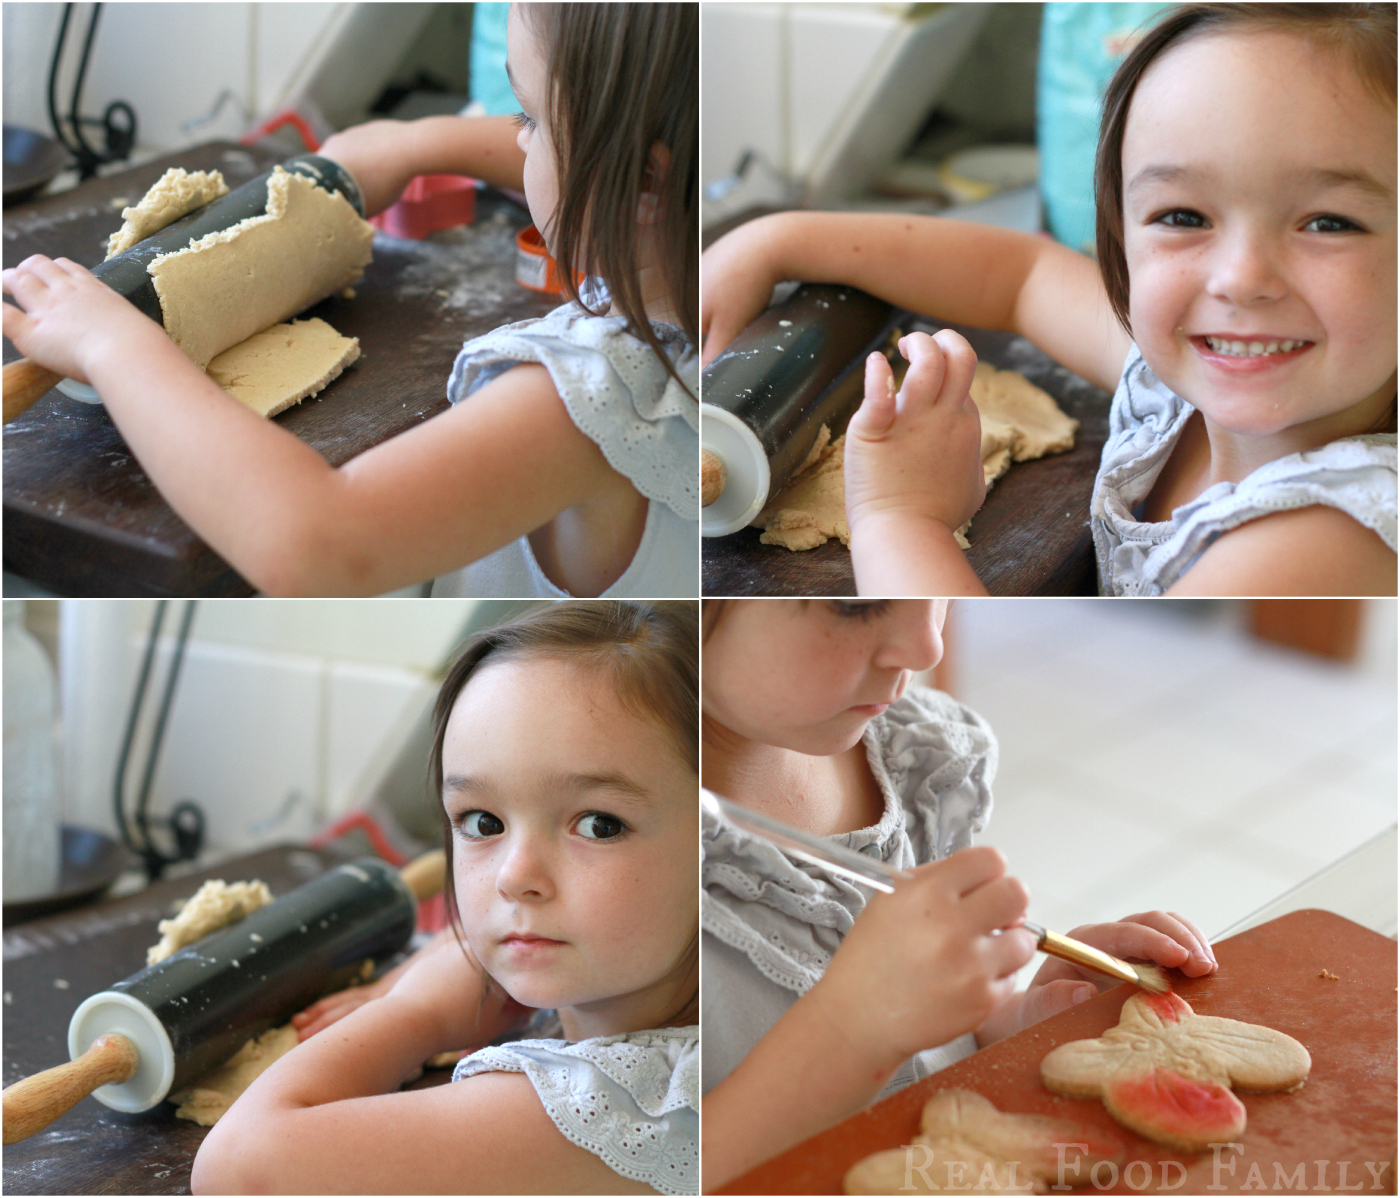
Use a cookie cutter and the stamps before baking. Let them cool before you “color dust” them.
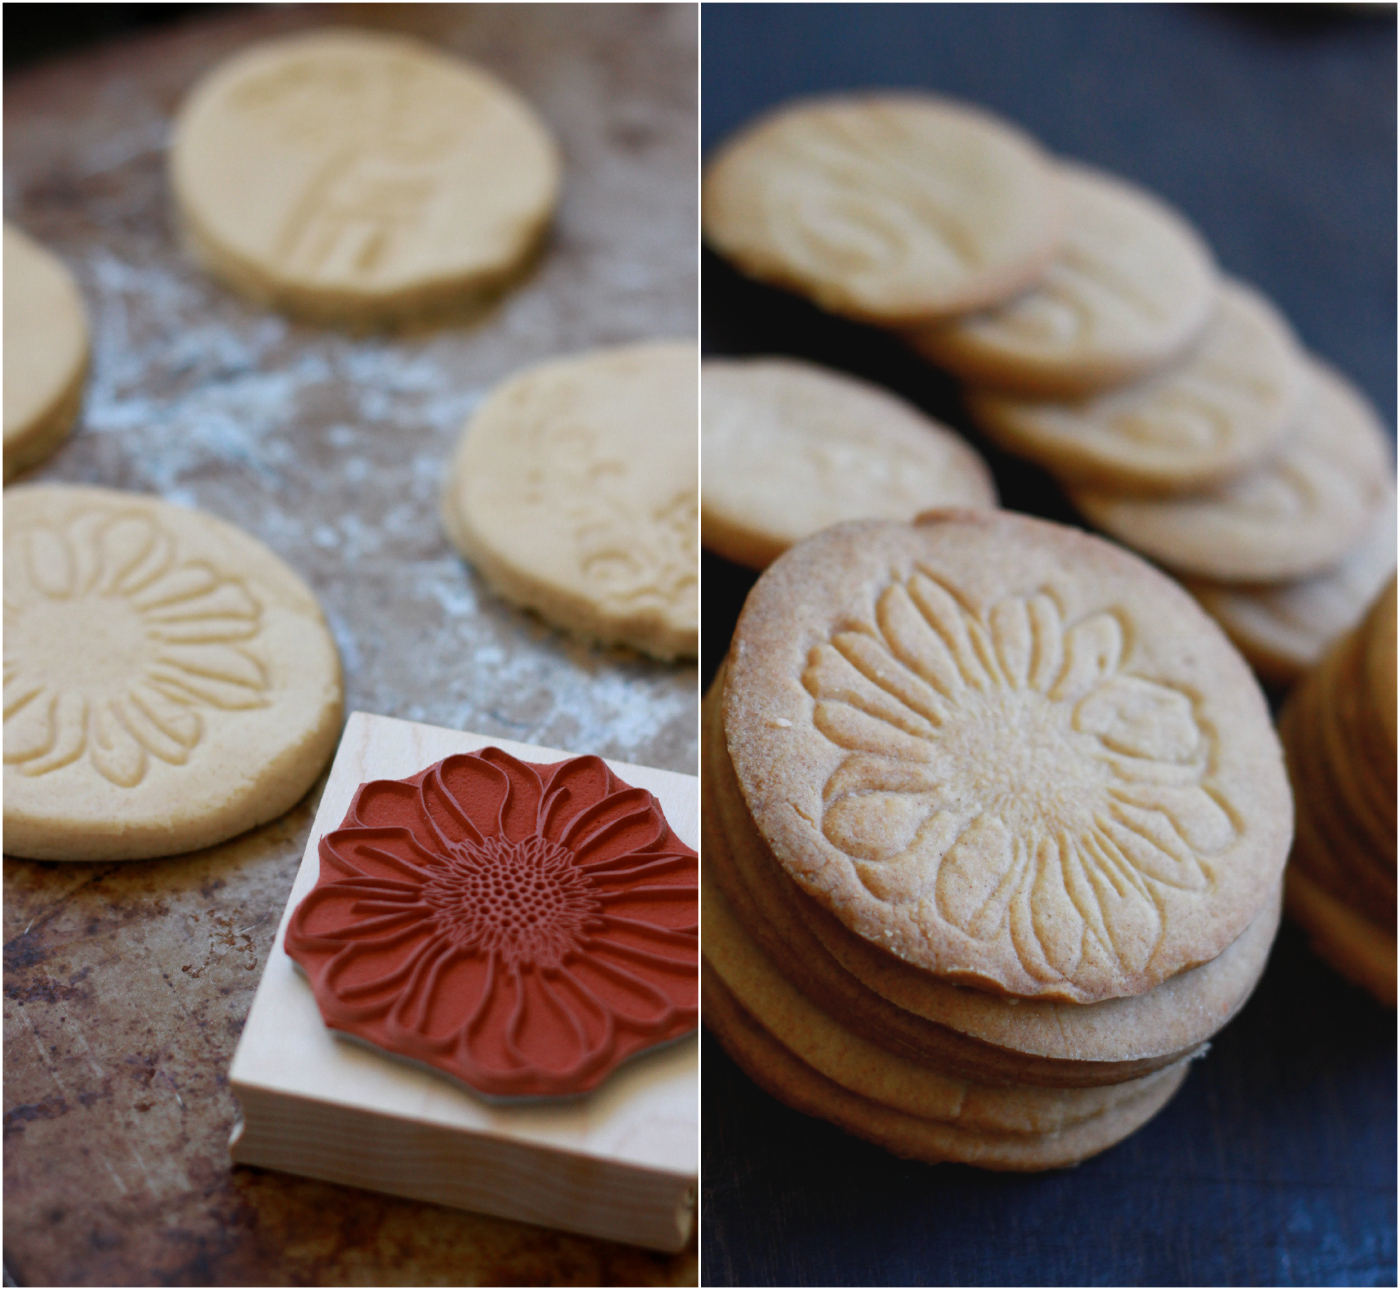 This isn’t the same flower stamp as the picture, but is very similar.
For springtime cookies you could add orange or lemon zest to the batter, or even lavender. For fall you could add a pumpkin pie spice to the batter.
To create the pumpkins in the picture I used a pumpkin cookie cutter then a butter knife to draw the lines. I used a floral stamp to add a little vine on the pumpkin stem.
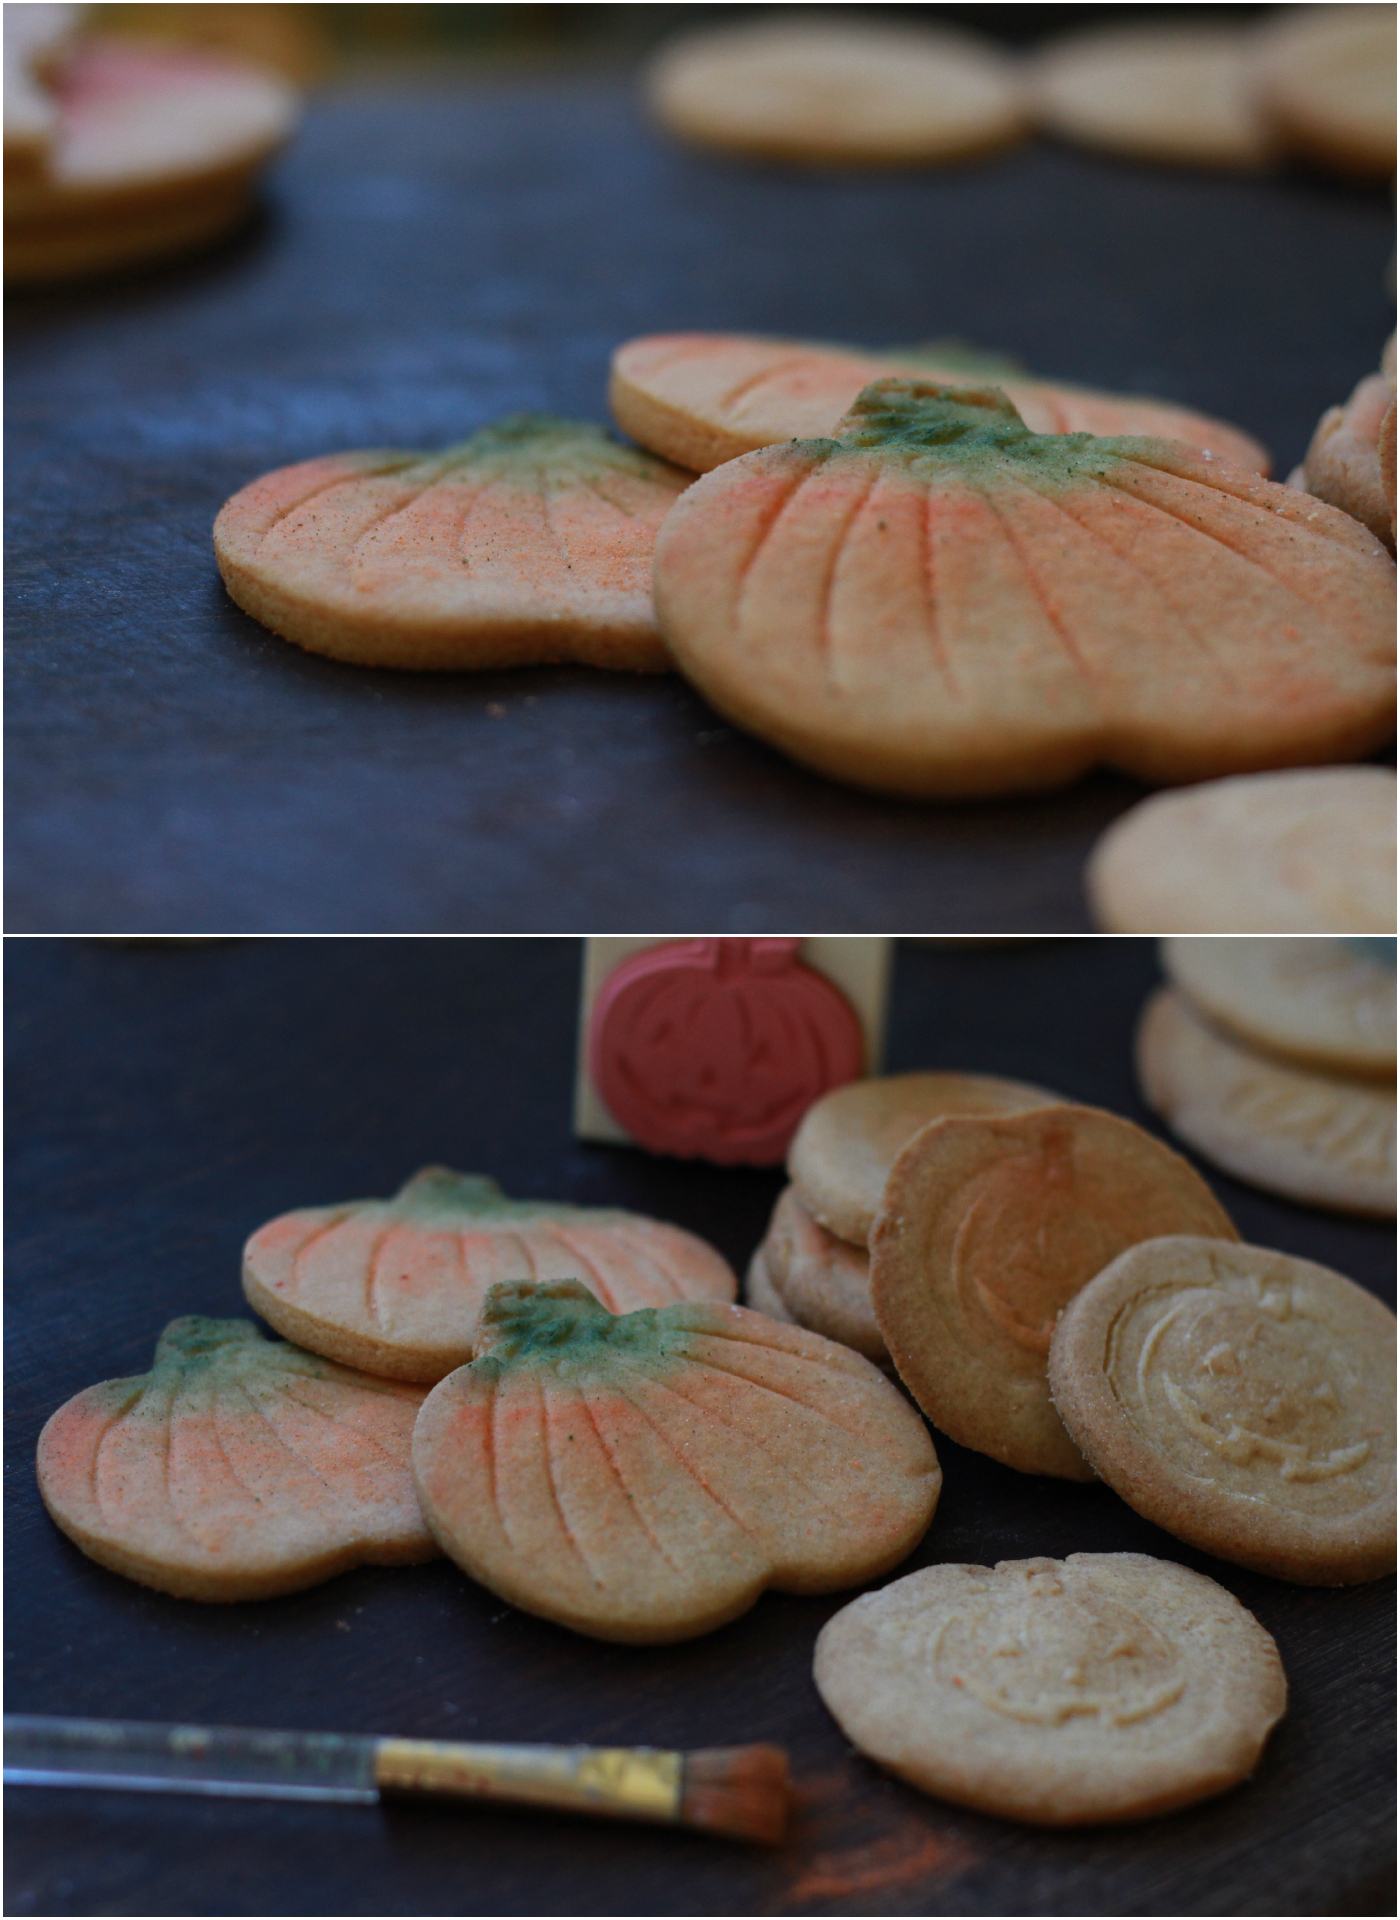 This is the most adorable little pumpkin stamp…I wish I had it when I made these!
Orange zest, cinnamon and nutmeg would be a lovely Christmas cookie flavoring, or maybe peppermint extract. I would use all sugar and no honey with the peppermint extract because of the conflict in flavors.
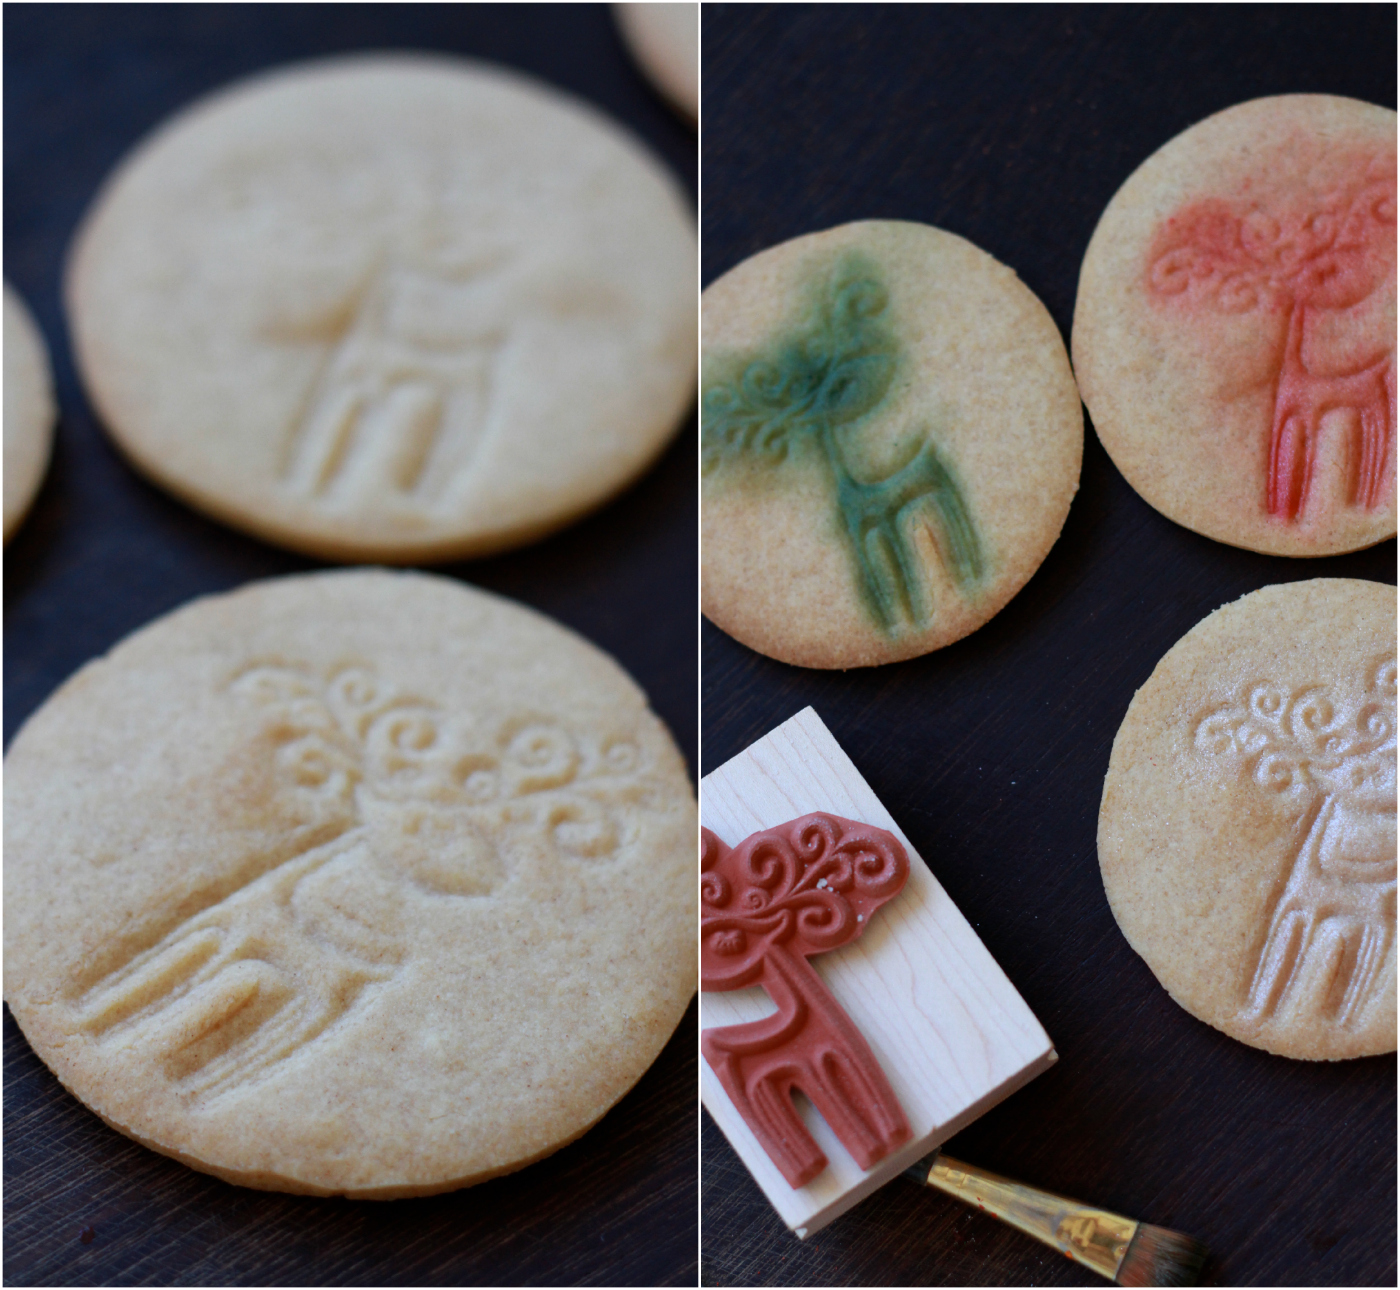 Here’s the stamp I used for the reindeer cookie.
Here’s the Cookie Recipe:
Ingredients:
1 cup butter
1/2 cup sugar
1/2 cup honey (preferably raw)
1 teaspoon vanilla extract
2 1/2 cups flour, like Einkorn flour
1 1/4 teaspoons baking powder
a dash of spices or flavoring based on your occasion, such as cinnamon, pumpkin pie spice, citrus zest, peppermint extract, rose extract, etc. (note that whatever flavoring you use must work with a honey flavor, otherwise make the cookies with all sugar and no honey)
“Color Dust” for decorating
Preheat your oven to 350 degrees F.
Use an electric mixer to whip the butter, sugar and honey until pale and fluffy. Whisk in the vanilla extract and any other special spices or flavorings you want to use.
Sift the flour and baking powder into a large bowl, then add to the sugar mixture, slowly whisking until it is just incorporated.
Transfer the mixture to a floured surface and roll out until it is 1/4-inch thick. Use cookie cutters to form your cookies and stamp with designs of your choice.
Bake the cookies for about 12 minutes until lightly golden on the edges. Let cool completely before decorating with color dust, frosting, or just leaving them perfectly plain with their delicate little stamp design. Enjoy immediately or store for up to 1 week at room temperature, and for months in the freezer.
*TIP: Make a large batch of cookies for various occasions and store in the freezer until you need them!
And here are my little hostess gift cookies. They’d be perfect in a little goodie bag or box with a ribbon and card.
So, what do you think?
